Showing posts with label Art Foamies. Show all posts

Monday, August 15, 2022

Spooky Coffin Shelf


Hello, Patti Campbell here again. I know it seems a little early for Halloween, but it is big in my house so preparations have already begun. So today I'm going to share with you my spooky coffin shelf. 

To start off I printed out a coffin template that I found online and traced it on to some sturdy cardboard twice. 


I cut out and glued the two pieces together and taped around the edges with masking tape. This made the back of the shelf.


I cut 2 1/2" strips out of the cardboard long enough to fit around the coffin shaped back. Then I taped the edges of these pieces with masking tape to make a smooth edge. 

I glued and taped the strips onto the back to make the sides of the coffin with the seam where they meet on the bottom. I glued and taped the seam. 

I cut smaller cardboard pieces to make the shelves and glued and tapes those in place as well. 

Then I took it outside and spray painted the whole thing black, inside and out. I also spray painted a 5x5 gesso board black to make a base for the coffin to stand on. Then when they dried I glued the coffin to the base. 

I used the Botanical by Julie Balzer ArtFoamie to decorate the outside of the coffin. On black paper I stamped Bonehead by Sandra Evertson, and the poison bottle from Halloweenies set 1 by Red Tin Roof with Moonlight Duos in Moonlight White. I cut them out and used them to decorate the inside of the coffin.

 I stamped Bailador and  Muneca by Jone Hallmark on black paper and cut them out. I put them on the base in front of the coffin. 

I took some moss from the craft store and glued it around the base and in a couple spots on the shelves. Then I added a few Halloween knick knacks and crystals to the shelves to complete it.


I hope you were inspired by my coffin shelf. Happy spooky season! Love and laughter, Patti. 

Monday, June 27, 2022

Beings Journal

 Beings Journal

Hi, it's me, Patti Campbell again. I've been having a lot of fun lately covering journals and photo albums with canvases I painted. I wanted to share with you my Beings Journal. I draw so many of these beings I needed a place to keep them all together. 

I took an old 8 1/2 x 11 blank journal with a boring, brown cover to use for my beings. I decided the cover needed some spunk. 


As I was perusing through my ArtFoamies I came across Elizabeth St. Hilaire's Flora Elements stamp set and thought that they would make good hair for one of my beings. 

So I got out my Golden acrylic paints, brushes, Ranger black Archival Ink, and a sheet of unstretched canvas. I painted the whole sheet turquoise, then began drawing the face. After the face was drawn I decided that along with the flower stamps I also wanted to use a couple of Kae Pea's Mod Moths

I stamped one moth in the hair and one on her neck. Then I made a paper mask for the moth in the hair so I could stamp the flowers around it. I stamped the flowers out on paper and cut them out to make masks to allow the flowers to overlap as I was stamping them. I stamped out a bouquet for her hair.


I then painted in the details, and using a wash of white paint I went over the background behind her to make her pop. 

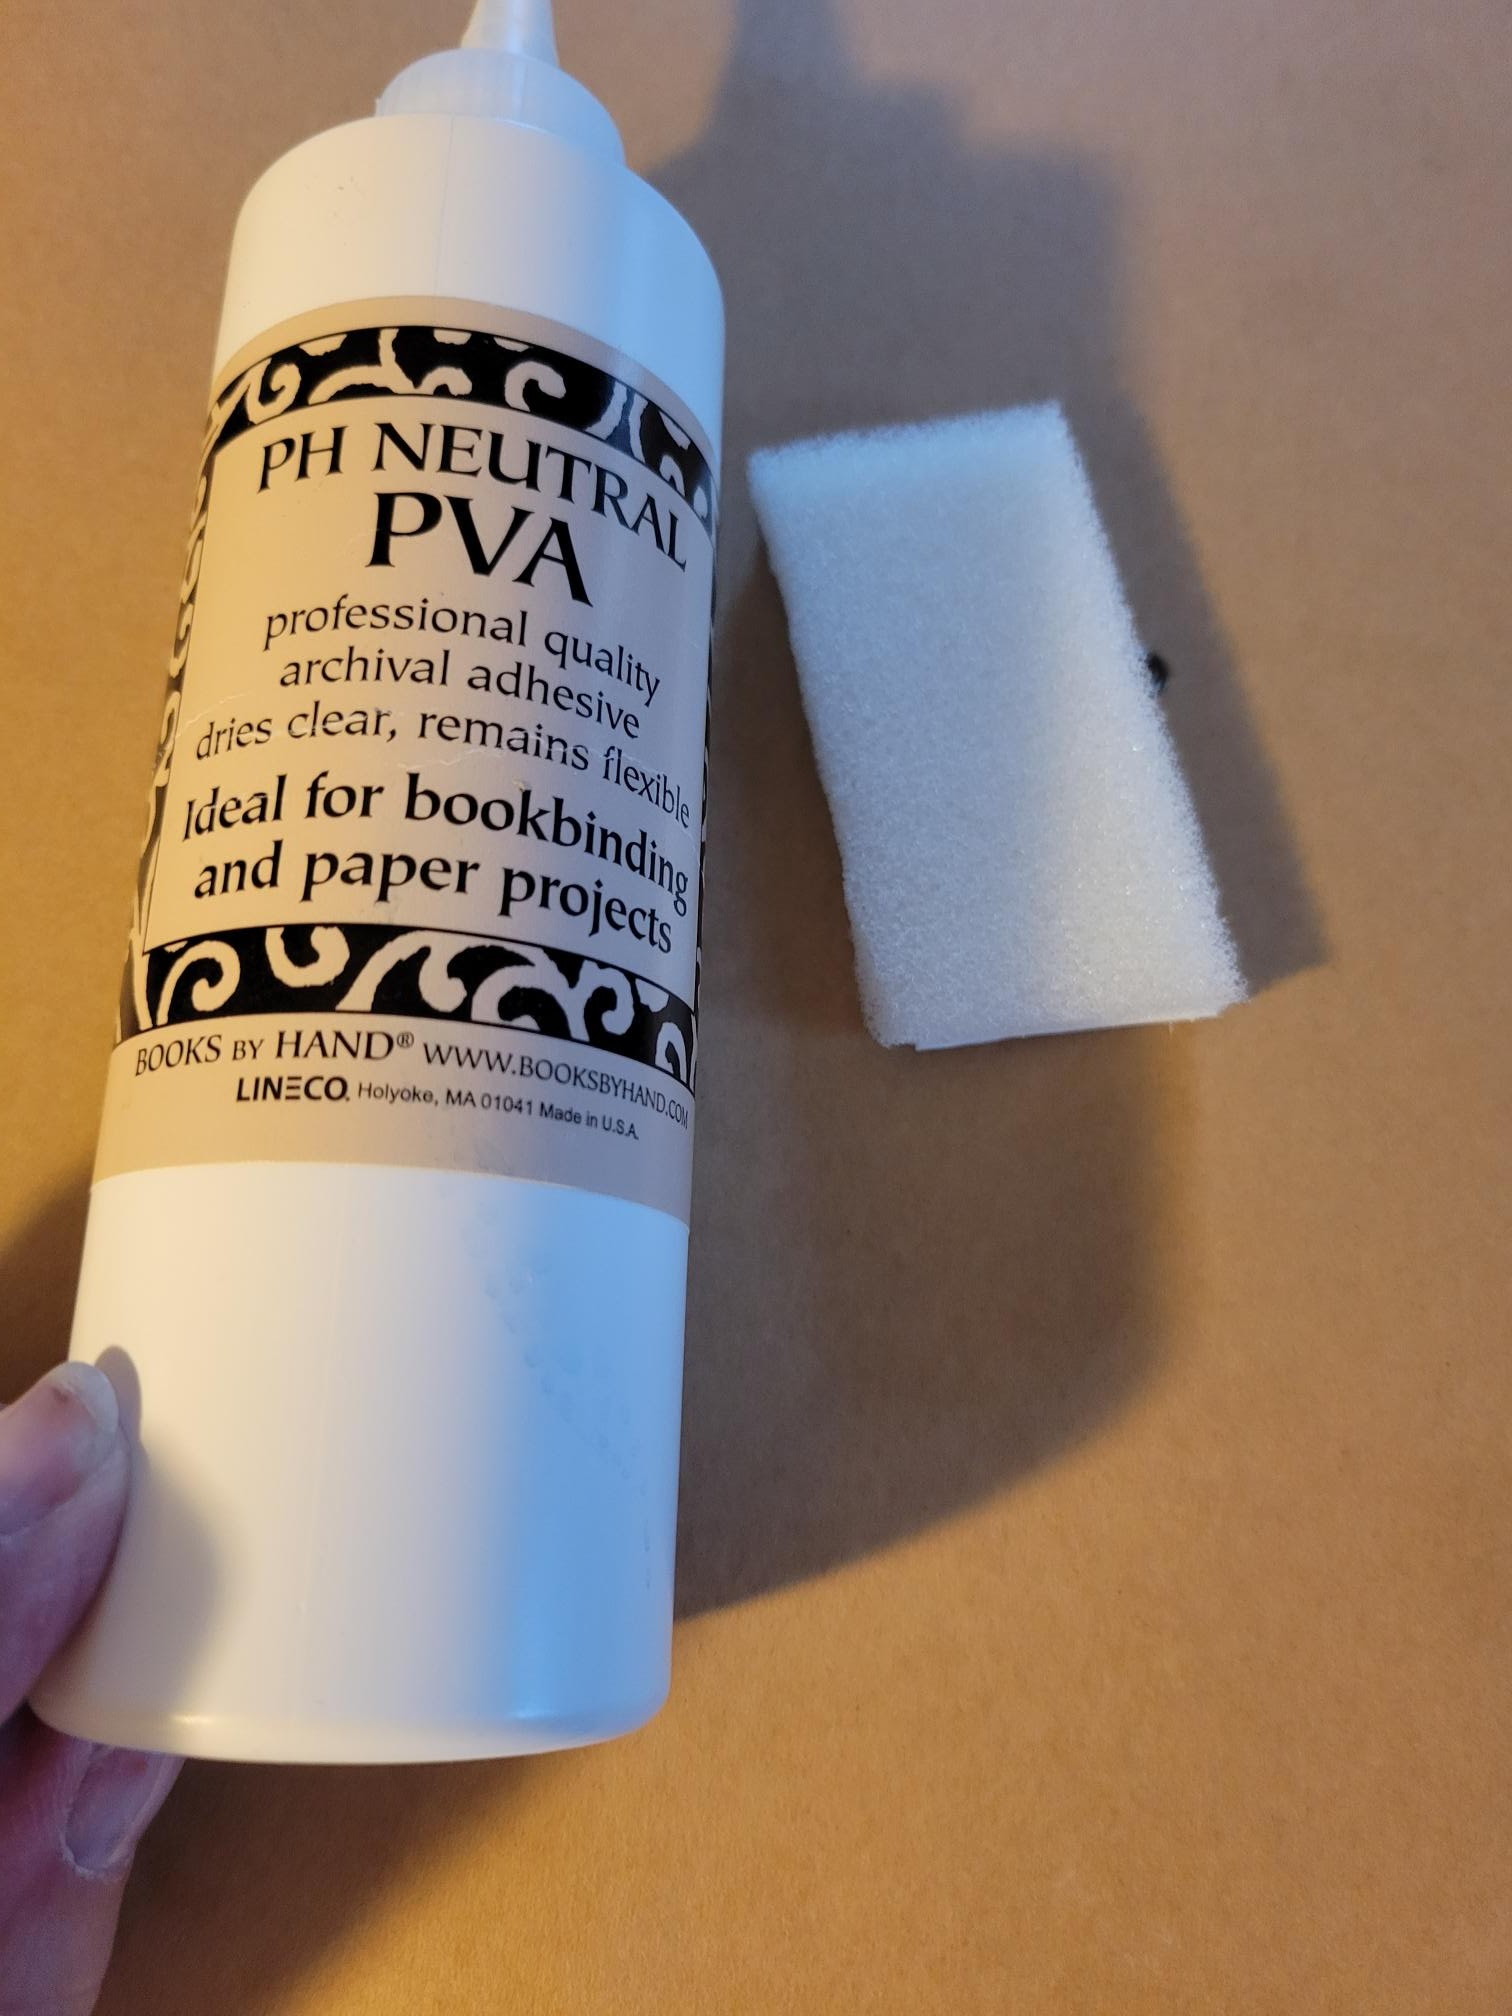
The elastic on the journal was old and stretched out so I removed it and then glued her to the cover using a scrap of a stamp buddy and PVA glue. 


Then I decided it needed a back cover as well. So I took another sheet of canvas and painted it turquoise to match the front cover. I painted different colored circles and after they dried I samped over them with the Flora Elements and the Mod Moths stamps. Then I glued it to the back cover.


Now my plain, brown, boring journal is a work of art and the perfect place to keep my beings.


Hope you're all having a wonderful summer so far!

Love and laughter,

💜Patti💜

P.S. no I did not get a heart tattoo on my hand, I was covering up a nasty burn so your eyes could be spared.


Monday, November 29, 2021

Easy Holiday Décor With Art Foamies – Patti Hodder

HELLO ARTISTS! I’m excited to share ideas for quick and easy Holiday décor. These techniques can be translated into other celebrations just by changing up the colors or stamps used. This year I was going for a denim / country scheme. I wanted a soft, aged look. Hope you enjoy!


Art Foamies used:
Additional Supplies:
  • Acrylic Paints – colors you choose
  • Cotton Stockings
  • Cotton Gift Bags
  • Glass Votive Holders
  • GAC 9000 by Golden
  • Folk Art Glass Primer
  • Stamp Buddy
  • Cotton stockings and bags came in white; I dyed a denim blue using RIT dye.
COTTON STOCKINGS:

Mix Golden GAC 9000 with acrylic paint (50/50 mix). Apply acrylic paint to one of the rail stamps using a Stamp Buddy. Stamp onto stocking in whichever pattern you choose. Using same technique, use one of the hexes shapes and cover stocking completely. Leave the toe part unstamped. When completely dry heat set with iron.


COTTON GIFT BAGS

Same application as cotton stockings. These little gift bags are perfect for filling with candy or jewelry!!


GLASS VOTIVE HOLDERS

Clean off votive holders with soap and water and then with some rubbing alcohol. Apply a thin coat of glass primer and let dry. Apply paint to a stamp buddy and then on to the art foamie. Since the foam is flexible, wrap around glass as you apply pressure. The votive holder I used is smaller than the stamp so you will get only a portion of the design. Let dry completely to avoid smudging.

I used battery operated candles, but anything can be used in these glass holders like faux snow with trees or candies.


Hope you see some techniques you would like to try. Best wishes for a happy and healthy Holiday Season. 


Monday, April 5, 2021

Gnome Garden Party Picks & Wands - Jenn White


HI EVERYONE! I am back with more fun for you! YAY! I LOVE Garden Parties! How about you? I invite you all to join me in creating party favors & decorations for a fun Gnome Garden Party. Let's get busy inking, stamping, working our scissors & hot glue guns again! Shall we?

Designing & creating party decorations & crafting kits is one of my favorite things to do! Such a happy activity! I am a PARTY MOM for all of my daughters & I am a PARTY MIMI for all of my grandchildren now too! So many fun memories are made creating & crafting together with all of the pieces & bits of business I make with ArtFoamies products.

I love watching everyone's results when they put my created pieces together with their own imaginations. Two of the results recently born from my own imagination are custom decorative cupcake picks & magic wands.  Such fun party favors that spark feel good memories & bring smiles for years to come.

Feel free to be inspired to re-create these with your beautiful imagination & your own ArtFoamies products too.

They are so fun & easy to make by yourself & with your loved ones.

The supplies you will need to get together to recreate these are:
  • Tooth picks or food picks
  • Bamboo Skewers
  • Hot glue gun & glue sticks
  • Scissors
  • Sturdy White smooth stampable paper that can be easily cut with scissors. I used the smooth side of 140lb hot press watercolor paper, heavy weight cardstock & specialty stamping paper.
  • Embellishments such as glitter glues, gems, ribbons & trims are optional.
Here are the ArtFoamies products I used & your shopping list for artfoamies.com :
I began this project by creating custom inked StampBuddy pads to stamp the ArtFoamies into. These are how I create the colorful ombre & rainbow stamping effects. Choose your favorite colors from The Moonlight Duo re-inkers & MoonGlo re-inkers to do this. The ones I chose are listed in the ArtFoamies product shopping list above. 


GNOME GARDEN PARTY CUPCAKE PICKS

I wanted the Gnomes to have fairy wings so they could fly & a variety of mushrooms to play on.
  • I inked & stamped a sheet of Kae Pea's smaller GNOMELY gnomes. 
  • I inked & stamped a sheet of Kae Pea's WHIMSY WINGS on the "B" side. YES! YOU CAN USE BOTH SIDES OF YOUR ARTFOAMIES! BONUS!
  • I inked & stamped a few sheets of Kae Peas SHROOMS TO GROW on the "B" side onto some 12" x 12" sheets of specialty stamping cardstock paper.
I love the variety of colors I can get with my custom inked StampBuddy pads don't you? So pretty!


I cut all of the stamped images out by hand which only took about an hour or so.


Next I used my hot glue gun & glue sticks to attach the wings to the Gnome's bodies. I then hot glued a wooden tooth pick to the back of the flying Gnome.


  • Be sure to hot glue another flying Gnome on the back to so both sides are pretty. I did this with the mushrooms too!
  • Make sure to glue the toothpick low enough on the bottom backs of the Gnomes & mushrooms so your toothpick stem will be extending out enough to insert into the cupcakes.
You could also add these to your INDOOR plants & INDOOR fairy gardens too! They definitely can be used for more things than just cupcakes & garden party foods!


GNOME GARDEN PARTY FAIRY WANDS

I also used some of the small winged gnomes I created on the wands! THESE ARE SO FUN FOR IMAGINARY PLAY! YAY! I love layering, dimension & embellishment. How about you?

These wands were made by layering fussy cut pieces of stamped ArtFoamies! ARE YOU READY? LET'S MAKE ONE TOGETHER!

First I inked up a bamboo kabob skewer by rolling it over one of my custom rainbow inked StampBuddy pads & set it aside to dry. I then inked up Cat Kerr's STAR Artfoamie & Sandra Evertson's SOLAR FLARE Artfoamie with the Galactic Green Moon & The Maker Moonlight Duo Tint & Hue ink pad.


To make both of the layered sides of one wand you will need to ink & stamp two of each the "A" side & the "B" side of Cat Kerr's STAR for a total of 4 pieces. You will need one of each of the "A" side & the "B" side of Sandra Evertson's SOLAR FLARE ArtFoamie. For a total of 2 pieces. I stamped them on the smooth side of 140lb watercolor paper.


I then used my scissors to cut them out.
 

I stacked the cut out, stamped images & looked at how I wanted to layer them before I hot glued the layers together. I wanted them to look like a layered glowing, sparkling star & forest greenery all at the same time.


I hot glued all of the layers together & one by one.I then hot glued the bamboo kabob skewer, SHARP POINTED SIDE UP in between the 2 layered stacks. One on each side makes the wand pretty on both sides!
 

I hot glued two of the winged Gnomes I created earlier in the center of each side of the wand.


I finished it off by adding some sparkling iridescent glitter glue to all of the points for a magical effect!


Here's a finished wand awaiting some shimmer and shine!


I hope you enjoyed my tutorials & have lots of fun with them! Please feel free to put your own spin on these ideas. I would love to see the creations I inspired! Be sure to share photos of them with me.
It makes me so happy when you play & create along with me. 

Don't forget to leave me a comment in the comments section below so I know you stopped by.
Thank you for your time, your kindness & your love.
 
HUGS! YOU ARE LOVED!

Jenn White